
Indian passport holders need a visa for mainland Vietnam, and the simplest route is the e-visa on the official portal, evisa.gov.vn. You upload a passport data-page scan and a 4×6 cm portrait, fill in the form, and pay US$25 for a single entry or US$50 for multiple entries. The e-visa is valid for up to 90 days and typically arrives in about three working days. Print it, and also complete Vietnam’s free pre-arrival declaration within three days of landing. Use only the official site, because lookalike sites charge extra for the same form.
This guide walks you through every step in order: what to prepare, how to fill in the form, what the photo must look like, what to carry, and what to do if something goes wrong.
Bookmark it and keep it open while you apply.
Why Indian travellers need a visa, and the one island that does not
India is not on Vietnam’s list of visa-exempt countries, so an Indian passport needs a visa before you fly. That list, which covers around two dozen nationalities for stays of up to 45 days, includes the UK, Germany, France, and Japan, but not India.
The e-visa is the practical answer. Vietnam has issued e-visas to citizens of all countries since 15 August 2023, for single or multiple entry and a stay of up to 90 days. Indians were first added to the e-visa scheme in 2018.
The Phu Quoc exception
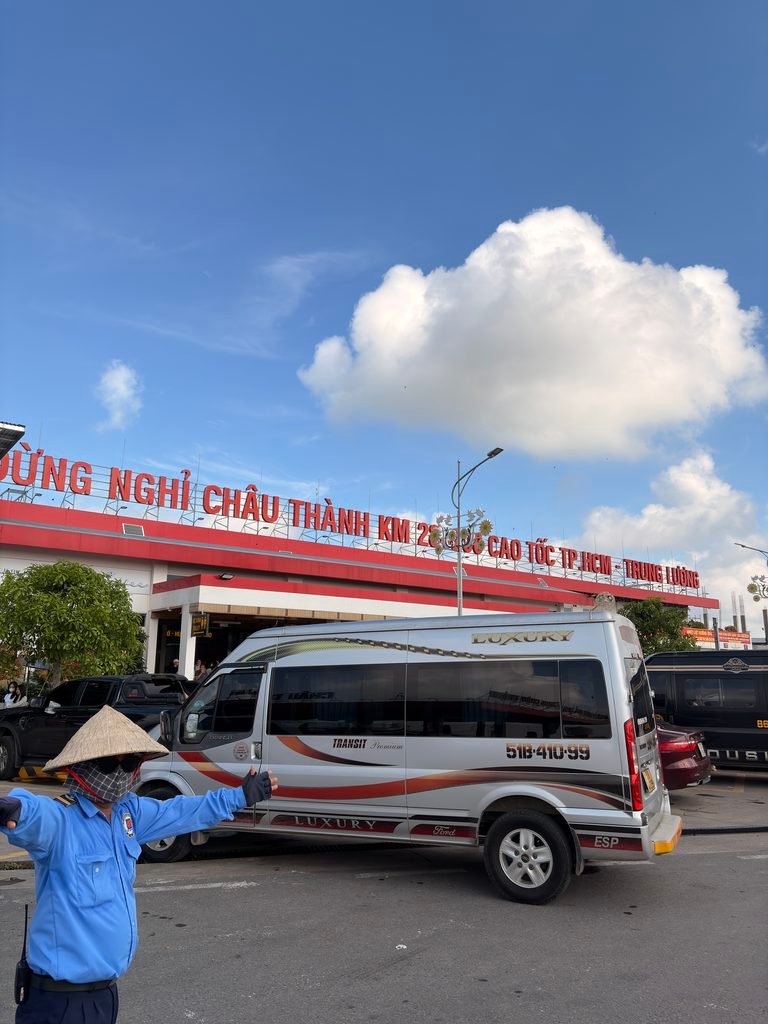
There is one exception. Any foreign visitor, including Indians, can stay on Phu Quoc island for up to 30 days without a visa if they arrive directly from outside Vietnam and stay on the island. Travel guides describe the rules as strictly limited to the island, so a side trip to Ho Chi Minh City or Hanoi needs a proper visa. Connecting through a mainland airport can also cause trouble, so most Indian travellers are better off applying for the e-visa anyway.
What to have ready before you open the form
The application takes about 15 to 20 minutes if you prepare first. Gather these items:
- A valid passport: the US State Department’s Vietnam guidance says it must be valid for six months beyond your arrival date, with at least two blank pages for stamps. Indian airlines can refuse boarding if you fall short, so check this first.
- A scan or photo of your passport data page: the page with your photo and personal details, showing all corners and the machine-readable lines at the bottom.
- A recent portrait photo: a 4×6 cm image in JPG or JPEG format, under 2 MB.
- An international debit or credit card: the fee is paid online through the portal’s e-payment gateway.
- A working email address: you will use it to receive the result and for the application code.
- Your trip details: your planned arrival date, your entry and exit points, and where you will stay in Vietnam.
Pro Tip: Save your passport scan and portrait in a single folder on your laptop before you begin. The portal can time out, and starting over is easier when the files are one click away.
The Vietnam e-visa application, step by step
The official portal is run by Vietnam’s Immigration Department under the Ministry of Public Security. It is the only place where you pay the government fee directly.
1. Open the official portal
Go to evisa.gov.vn and type the address yourself instead of clicking an ad or a search result. The Immigration Department also lists thithucdientu.gov.vn as an official address. If a site shows a service charge before you have even started, you are on an agency page.
2. Choose the e-visa for foreigners
Select the e-visa option for foreigners applying personally from outside Vietnam. Read the instructions, tick the confirmation box that says you have read them, and continue.
3. Upload your portrait and passport page
The portal asks you to upload the portrait and the passport data page first. After the upload, the system reads the images and automatically fills in the personal details from your passport. It also checks the images, and if the passport photo is invalid, the system will not let you submit the application.
4. Check the auto-filled details
The system shows the information it pulled from your passport, and you can correct anything that is wrong. Check your name, date of birth, passport number, and expiry date carefully. Errors here are one of the most common reasons for delays, and a mismatch between your passport and your application can cause trouble at the airport.
5. Complete the rest of the form
Choose single or multiple entry, enter your intended entry date, your planned stay, your entry and exit points, and your address in Vietnam. If you are not sure about the stay length, enter the full period you may need, because it is hard to change later.
6. Verify and submit
Review the summary page, confirm that everything matches your passport, and submit. The portal then gives you a verification code and an application code, so write both down.
7. Pay the government fee
Pay through the portal’s e-payment gateway. The fee is US$25 for single entry or US$50 for multiple entry, and it is not refunded if the visa is refused. Keep the payment confirmation.
8. Wait for the result, then download and print
You receive the result by email or on the e-visa homepage. When it is approved, return to the portal, enter your application code, and download your e-visa as a PDF. Print at least one copy, because e-visa holders must present the printed e-visa with their passport at the port of entry.
What the Vietnam e-visa costs and how long it takes
The cost is simple, but the timing deserves some planning.
- Government fee: US$25 for single entry, US$50 for multiple entry, according to the official portal
- Validity: up to 90 days, for either entry type
- Processing time: about three working days after your application and payment are received. Some guides report three to five, so use the longer figure when you plan.
- Express service: guides note that the official portal does not offer a paid fast-track, although private agencies advertise one
For Indian travellers, the rupee cost depends on the exchange rate on the day of payment, so budget roughly INR 2,100 for a single entry and about INR 4,200 for multiple entry. These are approximate conversions, not official prices.
Single entry or multiple entry?
Choose single entry if you are flying in, travelling around Vietnam, and flying out. The visa ends when you leave. Choose multiple entry if your trip includes side trips to Cambodia, Laos, or Thailand and you plan to return to Vietnam in between, because a single-entry visa expires as soon as you exit.
Photo and passport scan rules that cause rejections
Image quality is the most avoidable source of trouble. The official instructions are specific:
- Portrait photo: recent, 4×6 cm, JPG or JPEG, under 2 MB
- Passport image: a clear photo of the data page, with no cut-off corners and no glare
- Background and pose: a plain white background, facing forward, with no hat or glasses, according to one visa guide
Do not upload other passport pages, because the system only needs the page with your details. If the portal rejects an image, re-upload a sharper version instead of trying to submit anyway.
Choosing your entry and exit points
The e-visa only works at designated border crossings. Vietnamese media advises applicants to confirm that their entry and exit points are on the list of ports that accept e-visas.
In practice, most Indian travellers arrive at Hanoi (Noi Bai), Ho Chi Minh City (Tan Son Nhat), Da Nang, Nha Trang, or Phu Quoc. These are major international airports. Choose the entry point that matches your first flight, and the exit point that matches your departure flight, so your visa matches your route.
After approval: what to carry and file before you fly
The visa is only one part of the entry process. Do these before you leave.
Print your e-visa
Carry a printed copy with your passport. Your phone alone may not be enough at the checkpoint, and the US State Department also tells travellers to carry the printed e-visa.
File the pre-arrival declaration
Vietnam is rolling out a mandatory online pre-arrival declaration. According to the US Embassy in Vietnam, all international passengers who do not hold a Vietnamese passport must complete it on arrival or no more than three days before. The Immigration Department has launched it for major airports including Hanoi, Ho Chi Minh City, Da Nang, Nha Trang, and Phu Quoc.
The form is free at prearrival.immigration.gov.vn, and it produces a QR code that you show at immigration. Save the QR code to your phone or print it. It is not a visa, and it does not replace the e-visa.
Check your passport one last time
Confirm the six-month validity and the two blank pages. Also check that the name on your e-visa matches your passport exactly.
Know the cash rules
Vietnam requires you to declare foreign currency over US$5,000 or Vietnamese dong over 15 million, according to the US State Department.
Avoiding fake sites and surprise fees
Search results for Vietnam visas are crowded with lookalike sites, and many charge several times the official fee. The US State Department’s Vietnam advice says to only use the official government website to request your e-visa, which helps you avoid scams and fake fees.
A few rules protect you:
- Type the web address yourself, and check it ends in .gov.vn
- Treat any page that adds a service fee before you apply as an agency, not the government
- Never pay twice for the same application, and keep your payment receipt
- The pre-arrival declaration is also free, so do not pay for that either
Agencies are legal and some travellers like the extra checking they offer, but you are paying for convenience, not for a faster government decision.
A timeline you can follow
Only the three-day pre-arrival window is an official rule. The rest is our suggested schedule.
- Four to six weeks before travel: check that your passport has six months’ validity and two blank pages.
- Three weeks before: prepare your passport scan and portrait, then apply on the official portal.
- Ten days before: if you have no result, check the portal with your application code.
- One week before: download, print, and double-check your e-visa.
- Within three days of landing: file the free pre-arrival declaration.
- At the airport: carry your passport, printed e-visa, and QR code in your hand luggage.
If something goes wrong
- The portal rejects your photo: re-take it to the stated size and format, and upload again.
- You spot an error after submitting: the fee is non-refundable, so check the rules on the portal or contact the Immigration Department before paying again.
- You have no result after the usual time: check the status with your application code, and look in your spam folder.
- Your travel dates change: your e-visa is valid for the period shown, so confirm that your new dates fall inside it.
- You paid on a lookalike site: collect your receipt, contact your bank or card issuer, and then apply again on the official portal.
Frequently asked questions about Vietnam Visa
Do Indians need a visa for Vietnam?
Yes, for mainland Vietnam. India is not on the visa-exemption list, and the e-visa is the standard route.
How much is the Vietnam e-visa for Indians?
US$25 for single entry and US$50 for multiple entry, payable on the official portal and non-refundable if the visa is refused.
How long does the Vietnam e-visa take?
About three working days after you apply and pay. Some guides say three to five, so apply at least ten days before you travel.
How long is the e-visa valid?
Up to 90 days, for either single or multiple entry.
Can I get a Vietnam visa on arrival?
Not without a pre-approval letter arranged through an agency, and it costs more than the e-visa. For most Indian tourists, the e-visa is simpler.
Do I need a printed copy of the e-visa?
Yes. Carry a printed copy with your passport, because you must present both at the port of entry.
Is the pre-arrival declaration the same as a visa?
No. It is a separate, free online form that produces a QR code for immigration. You still need an e-visa.
Can I visit Phu Quoc without a visa?
Yes, for up to 30 days, but only if you arrive directly from abroad and stay on the island. For anything else, apply for the e-visa.
Where this information comes from
Visa fees, forms, and airport rules change, so check these sources before you apply.
- Vietnam National Electronic Visa portal: fees, validity, and the application system
- Portal instructions: photo and passport upload rules
- Pre-arrival declaration portal: the free arrival form
- US Embassy in Vietnam notice: pre-arrival rules (17 June 2026)
- Singapore Embassy in Hanoi update: covered airports (25 June 2026)
- US State Department: Vietnam: passport rules and printed e-visa
- Wikipedia: Visa policy of Vietnam: e-visa history and Phu Quoc